Why you don’t want to use fresh wood…
Anyone who carves spoons will sooner or later wonder: I carve my spoon from fresh/green wood, which is still wet. But how do I dry my spoon? And how do I prevent it from warping, tearing or even molding? This blog is all about drying wooden spoons.
We all learn that spoon carving is something you do from fresh/green wood. Why? Because fresh wood is much easier, faster and therefore safer to process with hand tools. So it is easier on your body. In addition, your hand tools will stay sharp longer when you carve green wood. And let’s face it, we’d rather carve than sharpen, don’t we?
However, there are important disadvantages to wood that is too fresh. Usually, you only discover those disadvantages after you have been carving for a while. So if you want to explore and discover this for yourself, stop reading. If you’re curious about how to dry out your spoons while avoiding problems and giving them a nice finish, then this blog is for you.
When do you stop working in fresh wood and do leave your spoon to dry?
There are two main factors that come into play in this decision. Namely: how soft is the wood and secondly: how wet is the wood. These two factors have a lot of influence on how your wood behaves during carving and drying.
Soft woods, such as birch, willow and alder, act like a sponge. Especially if they are still very wet. Imagine you are trying to carve a sponge. You press down the cells while carving and then they spring back up again. As a result, you will not get a smooth knife finish. The wood remains fibrous and therefore feels rough when it dries and dirt accumulates in it. With soft wood you therefore stop carving fresh – so wet – wood sooner than with harder types. You leave the spoon slightly thicker than the desired final thickness and you put the spoon aside to dry. Only when the spoon is really dry, do you go over it again with your knife for a really smooth finish.
How do you prevent deformation during drying?
Wood that dries can start to deform, for example because the wood warps or cracks. The wetter the wood, the more the wood ‘must’ shrink during drying and the greater the risk of deformation. In any case, your spoon will always shrink slightly, which is quite normal and nothing to worry about. However, wood does not shrink in the same way in all places, which can cause your spoon to deform. The faster the wood dries, the greater the chance of warping. This deformation is especially problematic if the bowl and stem twist relative to each other. That still produces a functional spoon, but not with the shape you intended.
Twisting is easiest to correct if you make the spoon bowl slightly thicker before letting it dry. Then you can bring down an angle here and there so that the spoon becomes straight(er) again. But we prefer to avoid warping during drying. Which brings me to the next question.
How can I best let the spoon dry?
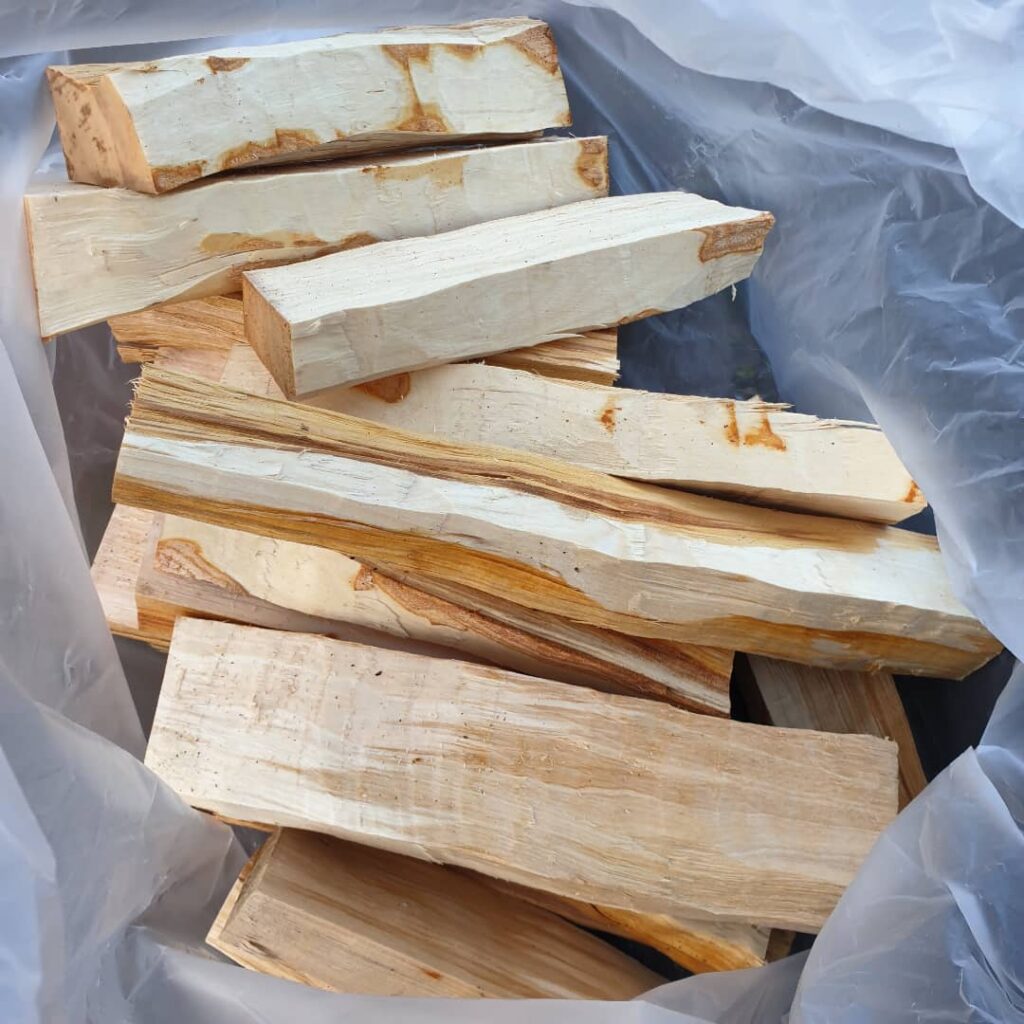
Slow drying prevents deformation and thus shrinkage cracks. This is especially important for softer woods that are still very wet. A tablespoon will not quickly get cracks while drying, but twisting sometimes happens. If you are going to make large (serving) spoons or, for example, a kuksa, where you have thicker pieces of wood that need to dry, the chance of drying cracks is much greater. So you want to dry the wood slowly, and therefore not – as many people suggest – in the oven. But also not so slow that it starts to mold. So it’s a matter of finding balance.
A way of drying that works very well for me is to collect the wood chips that accumulate during carving in a cotton bag. For example, an old pillowcase. Then let the spoon dry between those scraps. The chips give some mass, which makes drying slower, but due to the loose structure and the cotton bag, the moisture is sufficiently removed. As a result, the chance of mold formation is much smaller.
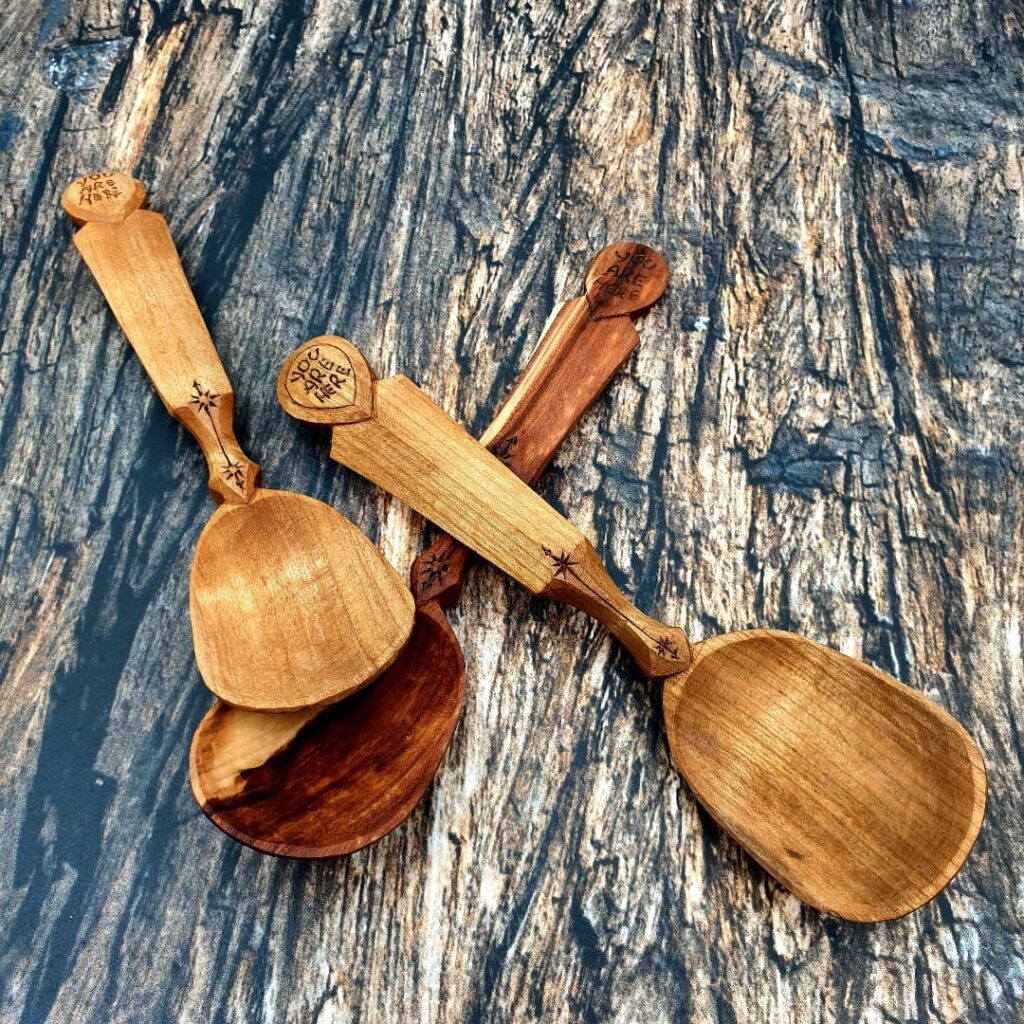
How do you get nice clean lines and a super smooth knife finish?
This only works when the wood is no longer spongy. At the same time, it should still be soft enough to carve through it with one smooth motion. Wood that is almost dry, but not quite yet. And therein lies the crux. It is much more convenient and finer to carve wood that is no longer super wet, but already somewhat drier. So dry that your workpiece dries slowly in your hands during the carving process.
As a result, you can continue carving to the desired end result in one go. It is therefore preferable to only start carving when your fresh wood is less fresh. So drier. Letting fresh wood dry in the trunk is also called ‘ripening’. This goes better with one type of wood than with another. With the harder types of wood, the wood becomes more even in structure and also slightly softer. This makes it much easier to carve. Softer wood becomes less ‘stiff’, making it easier to carve.

What are the advantages and disadvantages of different types of wood when drying?
That has a lot to do with your personal preference. What works for you? Do you have a lot of power in your hands? Are you someone who prefers to finish a project in one go, or do you like to sit down for it later? How soon should it be finished?
Each type of wood has its own unique ‘properties’ and whether they are an advantage or disadvantage depends very much on your personal situation. Below are a few rules of thumb:
- Harder woods, such as fruit and walnut, often deform less than soft woods and can therefore often be carved off in one go (especially after ripening). So you run less risk of deformation problems such as warping or splitting.
- The season in which the wood is pruned or felled makes a big difference. This has a strong influence on how wet the wood is. Spring and summer wood is wetter than fall and winter wood. In addition, some types of wood are drier by themselves than others.
The fact that we like to let the wood mature for a while before carving leads us to the next question: how long can I keep my wood?
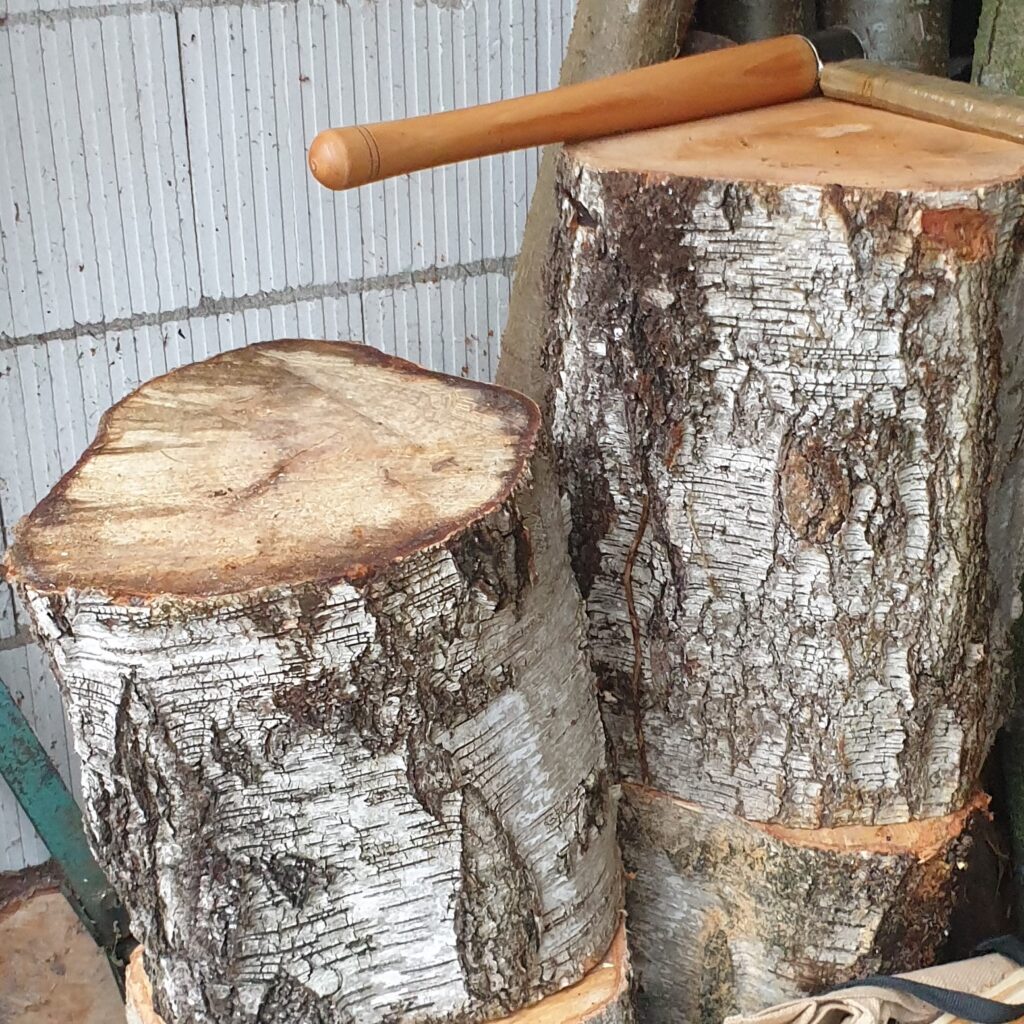
How long can I let my fresh wood mature?
Hard woods can be kept ‘fresh’ for longer than softer woods. They dry more slowly than the softer woods. Leave wood that you want to store a little longer, at least a good meter, and preferably use a reasonably thick piece (about 25 cm in diameter or a little more). Fruit or walnut wood can be kept good for between six months and a year. You should keep it cool and not too dry. Keep in mind that the end pieces always get drying cracks and that you therefore will have some loss. If you want to counteract this, you can put some leaves against the ends. You can stack shorter individual pieces on top of each other.
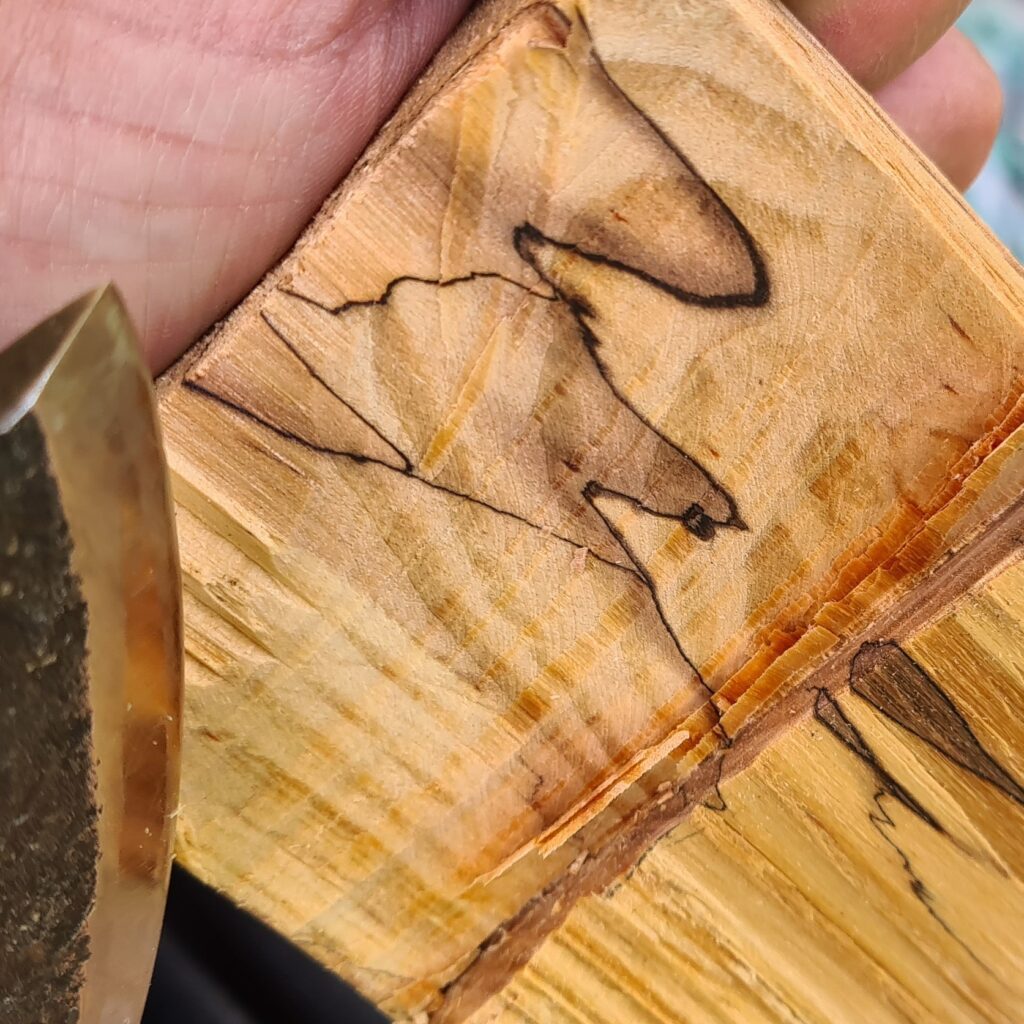
There are also ways to seal the wood, which makes it even slower to dry. For example, you can smear linseed oil, white wood glue or latex on the short sides. Be careful with birch, because birch bark is so waterproof that birch wood will mold much faster than other types of wood. If the fungus gets too far it will make your wood so brittle that you can no longer use it. A little mold is not a problem and sometimes creates a very nice coloration and black lines in the wood (this is called spalting). Some spoon carvers and bowl turners try to get a fungus in their wood for that reason. When the spoon dries, the fungus will die and the dyes will remain behind.
Experiment!
Are you a novice spoon carver and do you start to feel dizzy after reading the above or do you still find it very difficult to get fresh wood? Then forget all of the above and carve whatever you can get your hands on and experience how you feel about it. And can you suddenly make your move during the pruning season? Then this blog is waiting for you and you can read everything again at your leisure.
Do you have any other ways to keep your wood fresh that we should know? Then please respond in the comments below, via instagram, facebook or just by an old-fashioned e-mail. Also: if you have any questions, you would like me to answer in a future blog, give me a shout!